
Ever wondered how to make a belly cast? This is a fun idea for the last few weeks of the the third trimester (or after baby’s Guess Date has come and gone) when your belly is as abundant as it’ll ever be, and you’re waiting on baby to make his or her arrival among us air-breathers.
[Originally posted on my breastfeeding blog Mama’s Milk, No Chaser]
Supplies:
- Scissors
- Tape measure/ruler
- Large bowl for water
- E-Z Form Plaster Cloth Wrap (found at craft stores; see picture below)
- Petroleum jelly or shea/cocoa butter
- Old clothes
- Newspaper
- A towel or two
- Birth ball or chair
- Hair tie

Preparation:
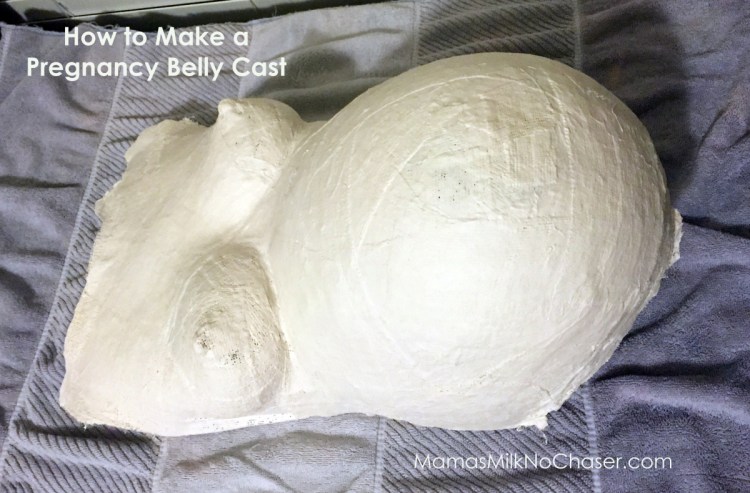
Look up belly cast designs and decide on one you like. You may prefer to focus on just the belly, or to include breasts, sternum, shoulders — really the sky’s the limit. We chose to include breasts and shoulders to give a more ‘full-dimensional’ representation of my pregnant form at this moment in time. You can make the shape simple, round and ambiguous, or as detailed as you like.
Predetermine a place to let the cast dry. Ideally this will be away from areas that attract dust, pets, heat, and curious children.
Choose a time when baby isn’t usually active. Of course, it may not be easy to predict: my baby was quiet all day, then decided craft hour was the perfect time to jut his limbs around. Find the humor in poor timing and all will be well!
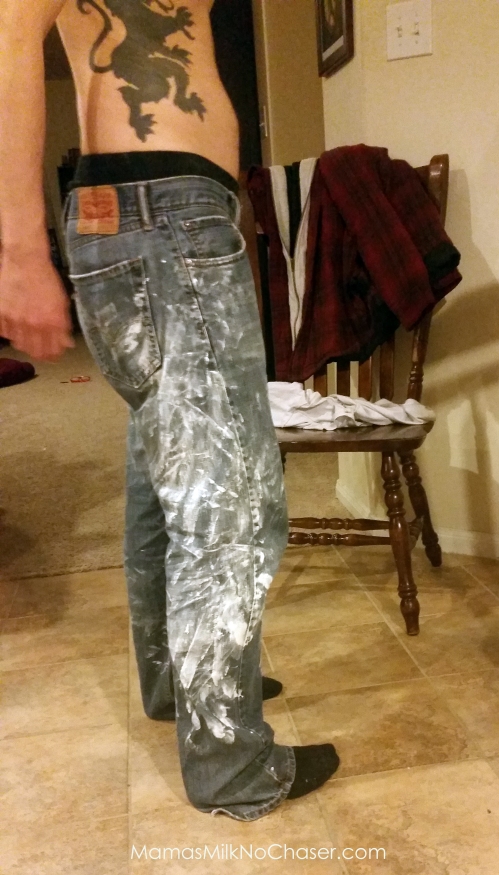
Wear something you don’t mind getting paint on — this goes for you, your designated cast-maker, and any small children who might be floating around the scene.
Lay out newspaper or towels. These go under a birth ball or chair. Cover the seat with a towel. Lay some newspaper over the strip-cutting surface, too. The plaster strips leave a white dust when dry, and they drip easily when wet. In other words, don’t schedule this experience the day after the housecleaners come over.

Fill a bowl with warm water. The water will get cold pretty quickly. I found the cool sensation to feel wonderful on my overheated pregnant belly, but if you find it too chilly then water will need to be replaced at least once.
Tie your hair back.
Use the bathroom before getting started.
Apply petroleum jelly or shea / cocoa butter all over belly. Don’t forget any other areas that will be plastered. Do NOT forget to put this protective barrier over any nearby body hair (pubic, armpit…). Seriously — don’t! Otherwise cast removal will feel like a bikini wax.
Process:
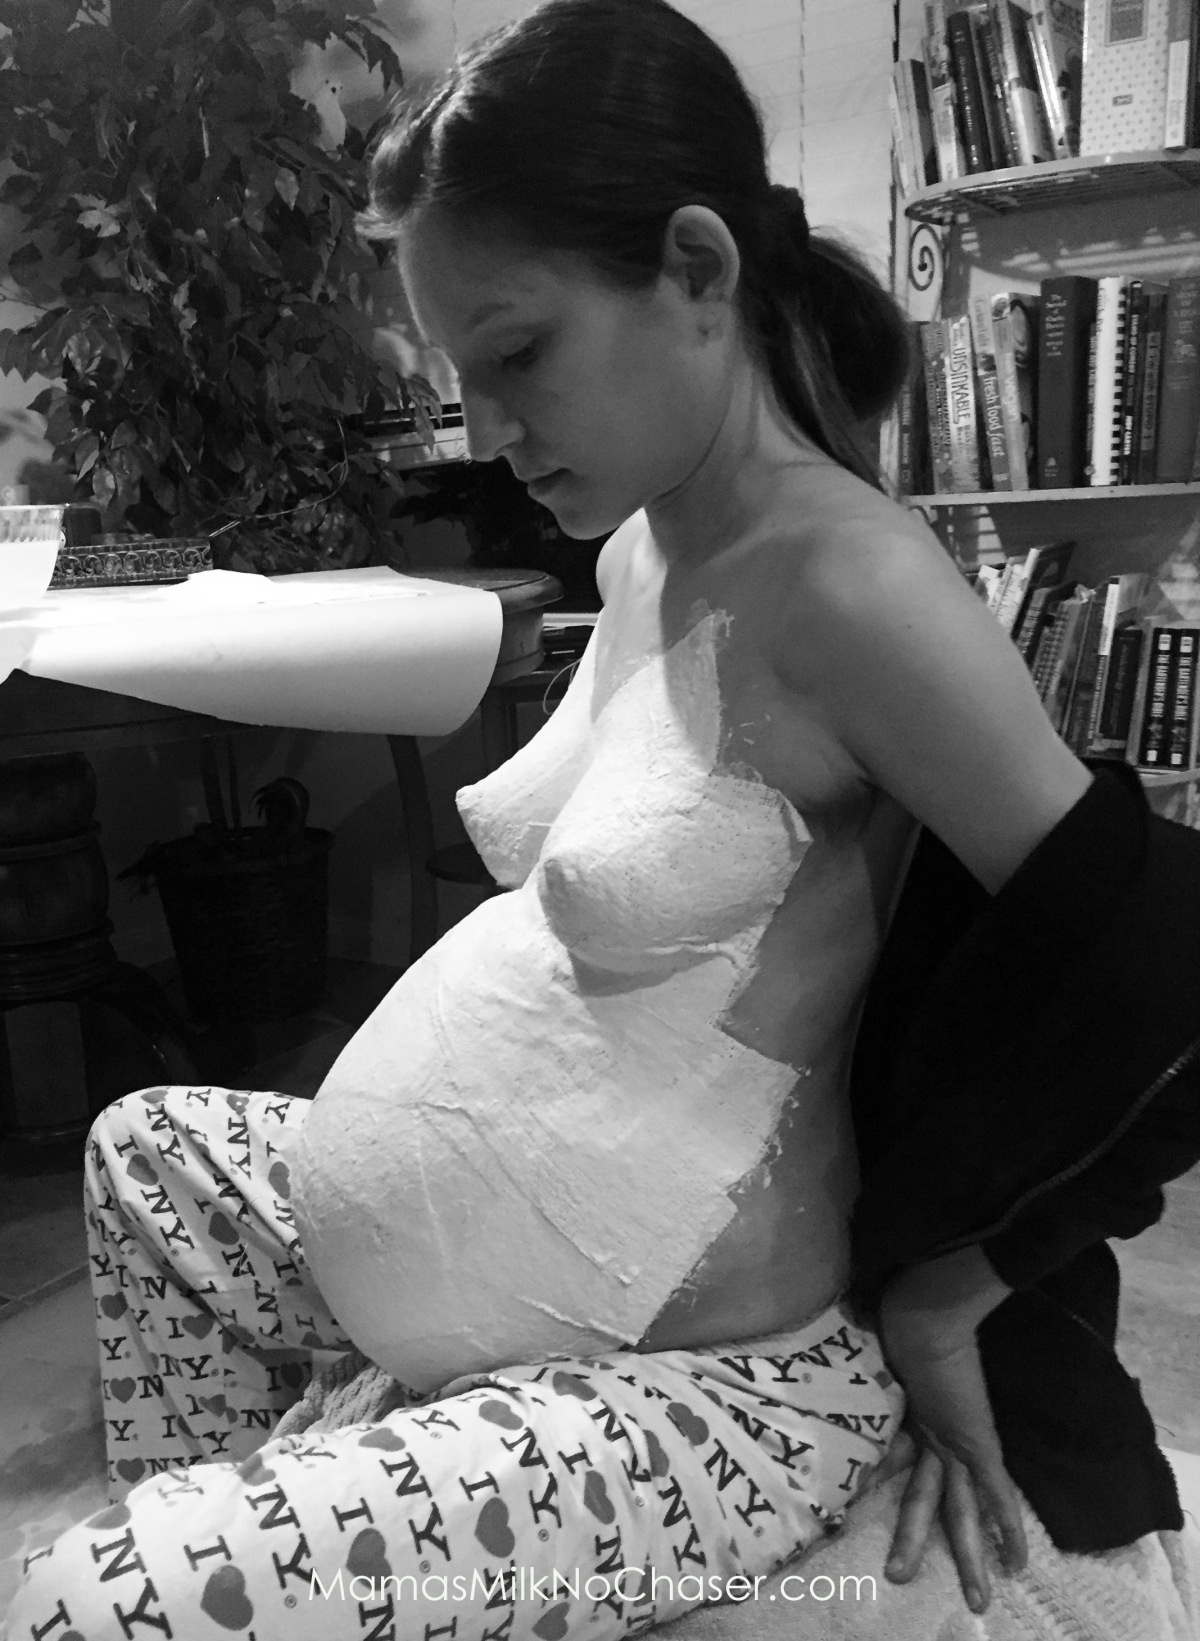
Alrighty, get comfy in your seat! Standing isn’t recommended for this. It takes at least 30 minutes to apply the strips and another 30 or so to dry well enough to remove without bending the plaster.
Older siblings might love to help. Just keep in mind: they may get bored ten minutes in and then request other entertainment. Have an alternate activity ready in advance because it’s no fun trying to find the iPad or set up a puzzle using hands sopping wet with plaster.
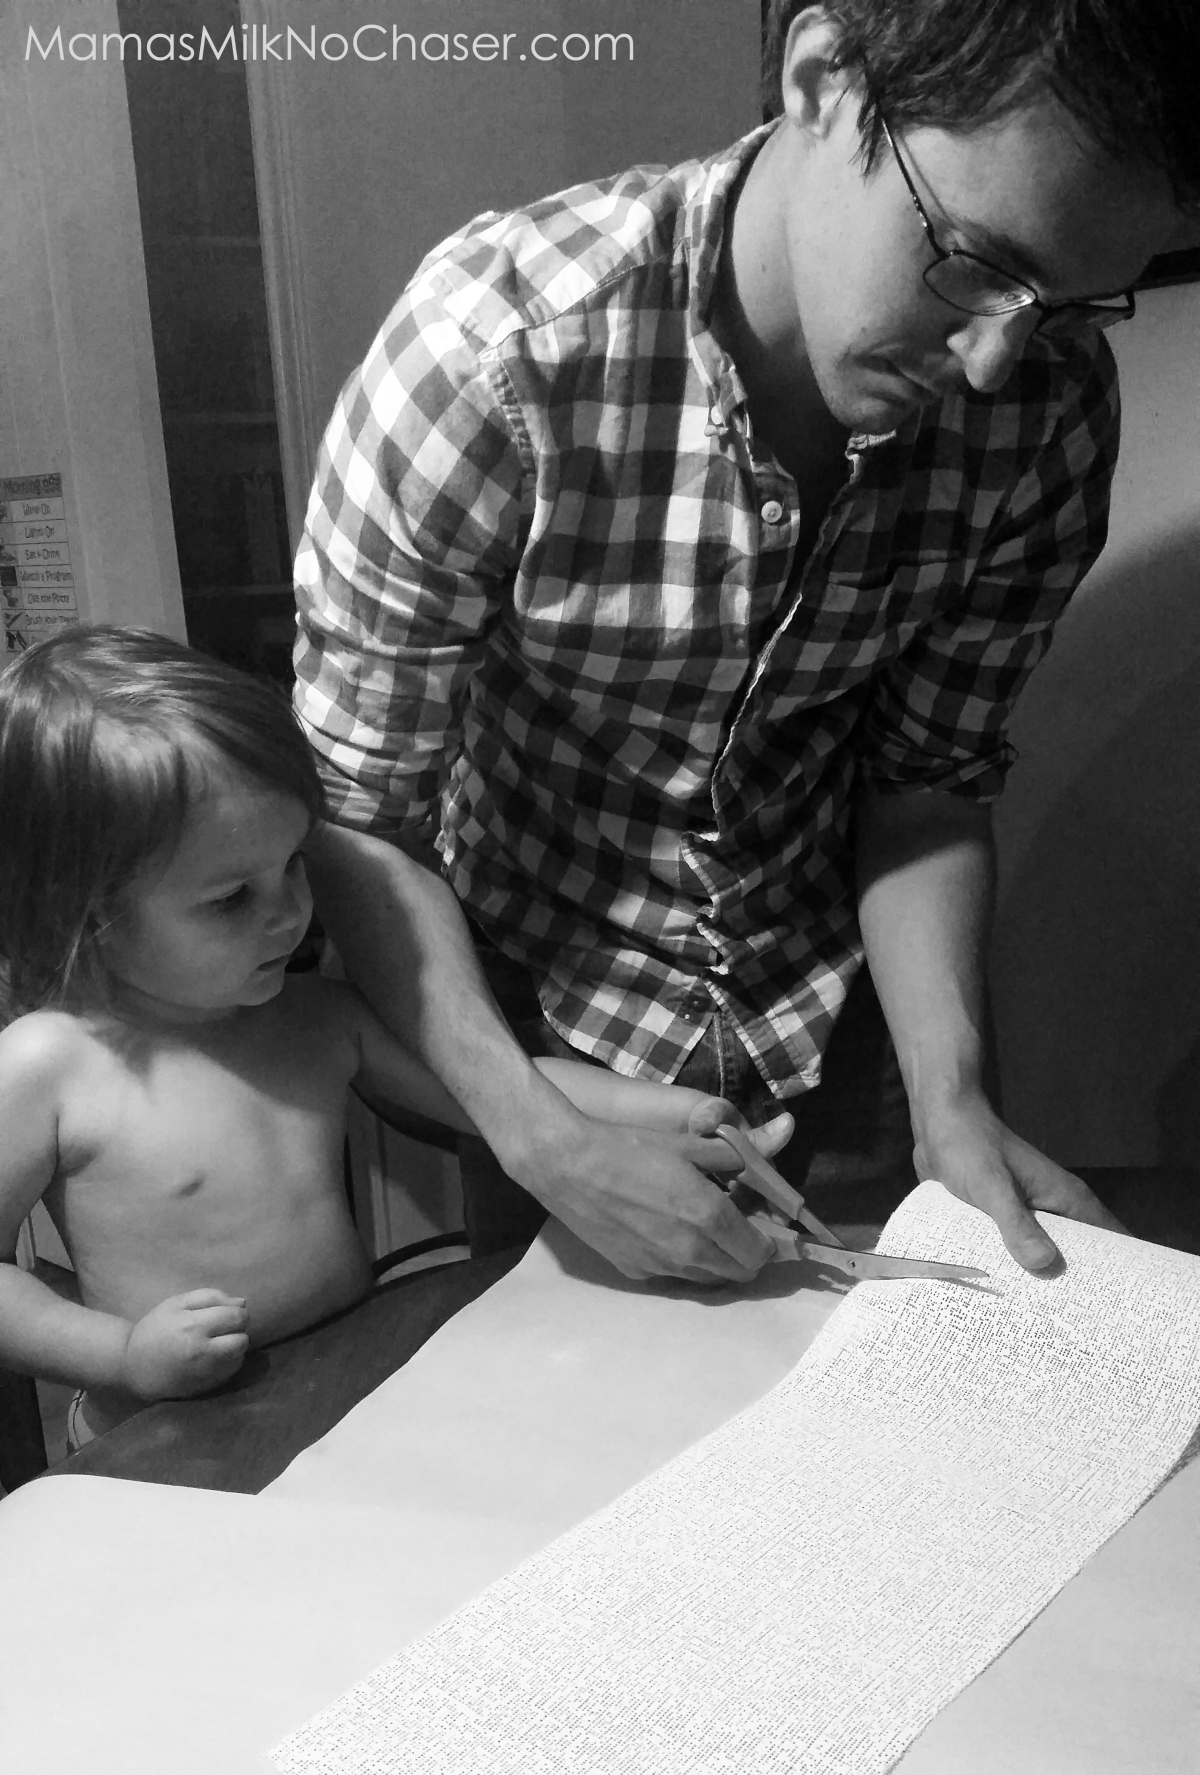


Measure and cut the strips. They don’t have to be exact as you’ll likely cut some into smaller shapes later. About 12 inches long is good, but depending on your body type they may work best smaller or up to 18 inches long (maximum). Cut little squares to use for optimum detail on nipples and belly button, if you wish.

You can find tutorial videos on YouTube that will guide you on how to most effectively place and layer the strips. We watched this video to get an idea of the process. (When I say “we,” I mean my partner. He literally did all the work!). There are also some pretty good instructions in the book Birthing From Within.
**Be sure to wait at least thirty minutes after the last strip is applied to allow the cast to dry thoroughly, especially if you applied minimal layers.


Set the cast on a clean, dry surface (I recommend a towel underneath) for about 48 hours. After this time, you can sand down any plaster imperfections and jesso it to prepare for painting and decoration.

Annnd time for a shower. 🙂

I’ll show you how we end up painting this one in the next post!

